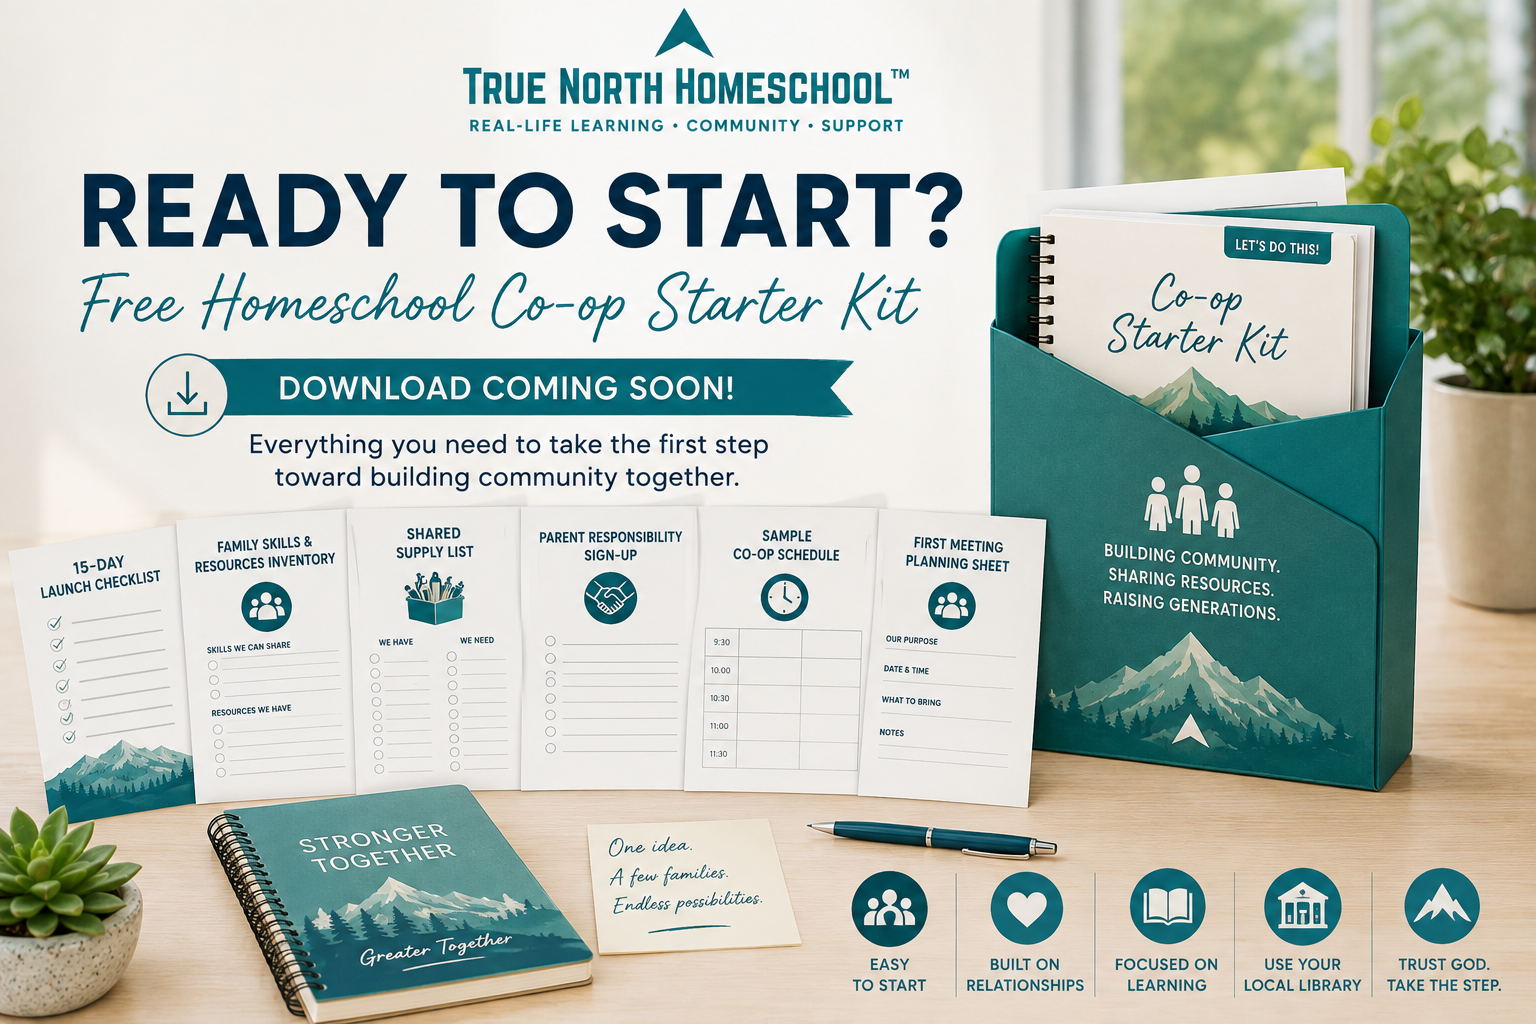
Start a Homeschool Co-op in 15 Days
Help Colorado Families Build Community
You Don’t Need a Building, a Big Budget, or a Complicated Program to Build Homeschool Community
Sometimes homeschool families are looking for something surprisingly simple: A few families. A place to gather. Something worthwhile for their children to learn. And people willing to build it together.
A homeschool co-op does not have to begin with a large organization, paid teachers, tuition, or an elaborate facility. In many communities, families can start small by gathering at a local library, pooling resources they already have, sharing responsibilities, and creating a parent-led learning experience together.
You could potentially go from “We should start something” to your first gathering in less than 15 days.
And the financial cost to participate can be little to nothing.
The real investment? Time. Relationships. Creativity. Shared resources. And parents willing to contribute.
We don’t just create homeschool opportunities. We help parents create their own.
What Is a Parent-Led, Independent Homeschool Co-op?
For purposes of this guide, we’re talking about something intentionally simple. A few homeschool families voluntarily come together to provide educational and social opportunities for their children. Rather than paying an organization to provide the experience, families create the experience together.
That could mean:
one parent teaches science
another organizes history activities
someone leads art
another parent brings games or manipulatives
families share curriculum they already own when permitted
parents bring craft materials and supplies from home for common use
someone handles communication
another parent reserves the meeting room
everyone helps with setup and cleanup
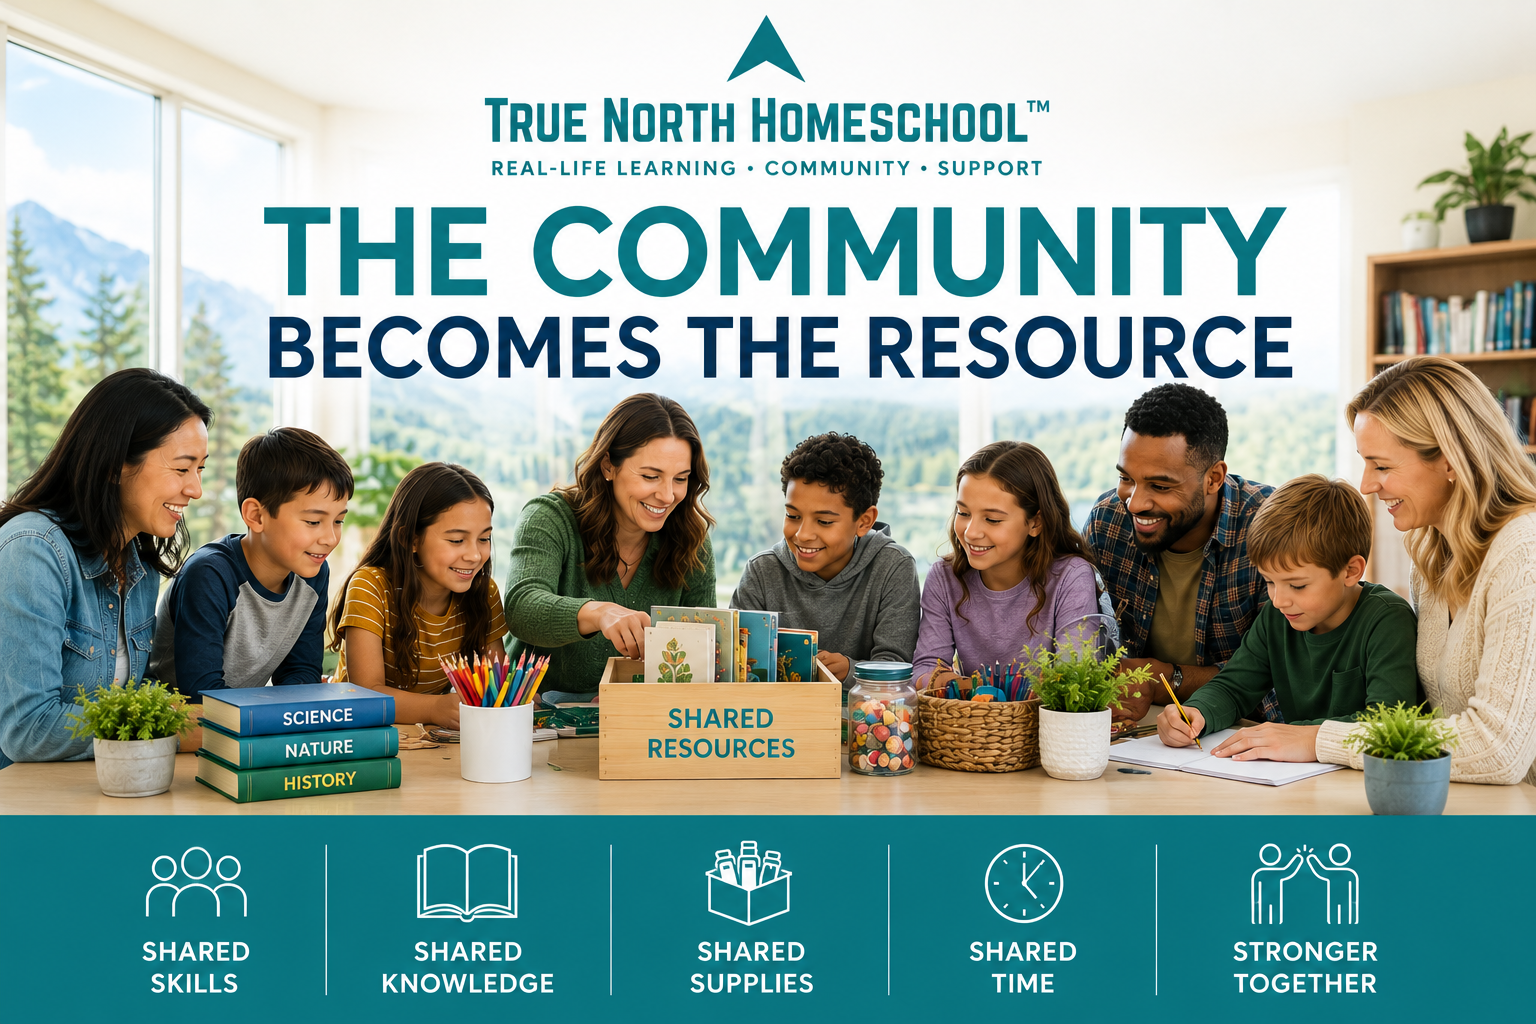
No one family has to do everything. The community becomes the resource.
Start With What You Already Have
Before buying anything, ask: What do we already have between us? You may be surprised.
Five homeschool families might collectively already own: microscopes, science equipment, maps, history books, educational games, art supplies, LEGO® and building materials, math manipulatives, curriculum, flash cards, musical instruments, craft supplies, printers and laminators, sports equipment, board games, books, tools, STEM kits, educational subscriptions, skills and professional experience, etc.
One family might own a microscope. Another parent may know woodworking. Someone else may love teaching literature. Another parent might be an engineer, nurse, artist, accountant, musician, veteran, entrepreneur, mechanic, gardener, or aviation enthusiast.
Instead of asking: “What program can we afford?” Try asking: “What has God already placed within the families around us?”
Step 1: Find 3–6 Families
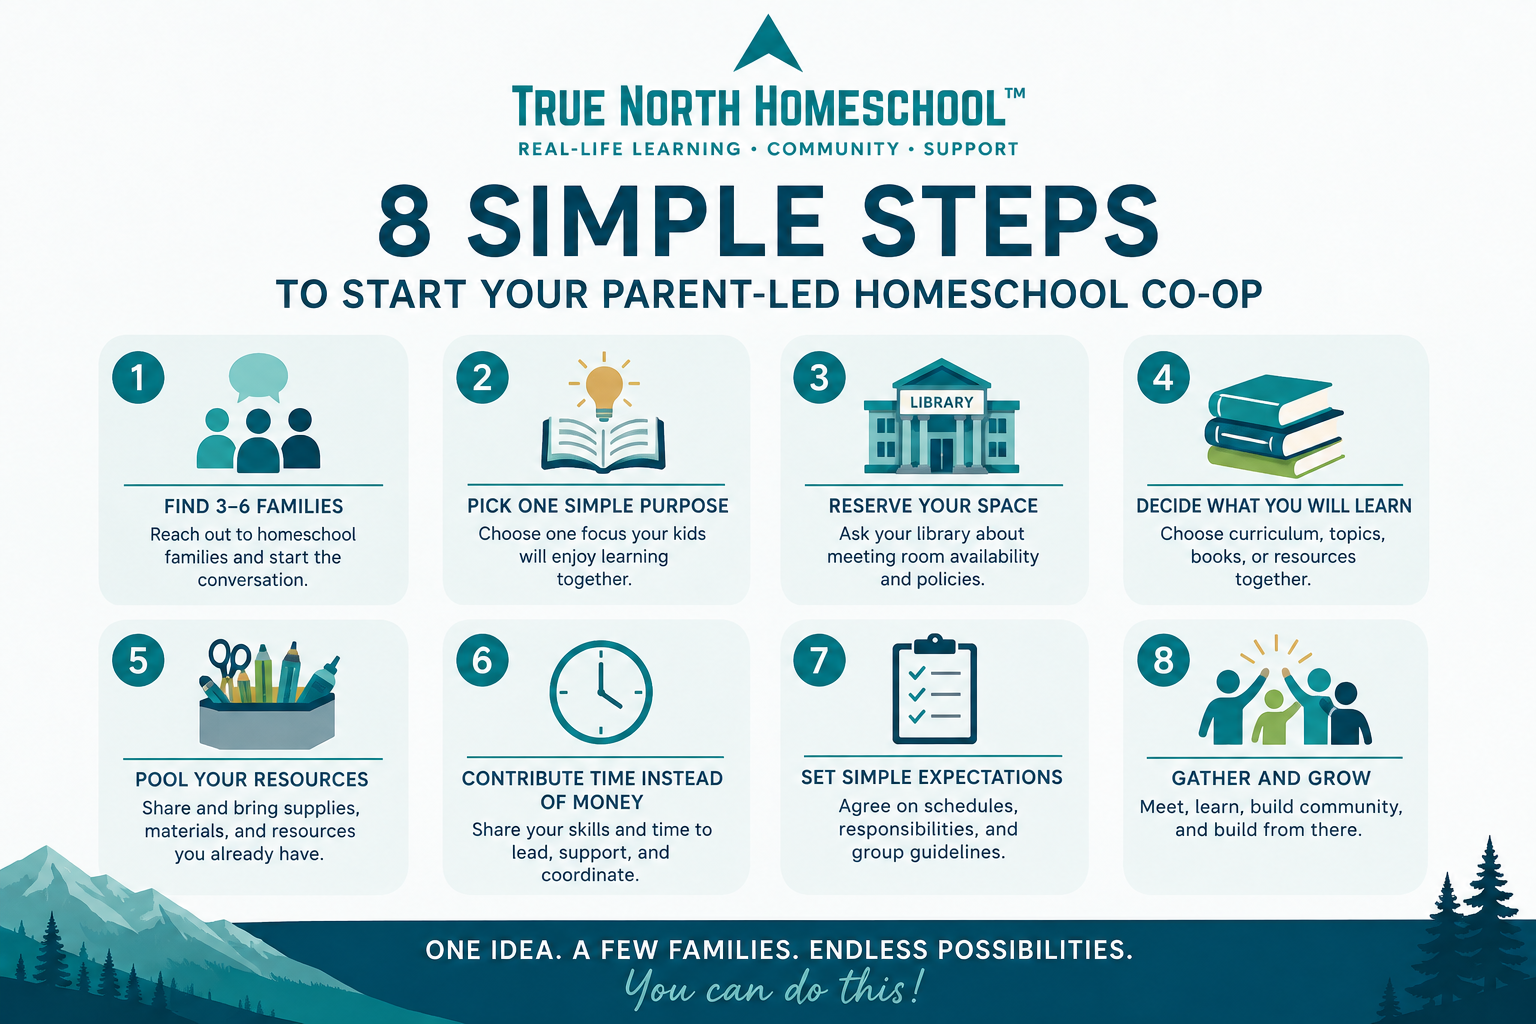
You do not need 30 families to begin. In fact, starting small can make organizing much easier. Reach out to homeschool families you already know through: neighborhood groups, church, homeschool Facebook groups, park days, sports teams, homeschool friends, local homeschool communities, etc.
Your invitation can be extremely simple: “Would anyone be interested in helping start a small parent-led homeschool co-op? We could meet at the library, choose something for the kids to study together, and each family contribute time, supplies, or activities rather than paying tuition.” That is enough to start the conversation.
Step 2: Pick One Simple Purpose
Don’t try to build an entire school. Start with one thing your children would enjoy doing together. For example, you could start with a club such as:
Science: Choose a science curriculum, book, or topic and rotate experiments among parents
History: Study the same period of history and meet for projects, presentations, maps, games, or historical activities
Literature: Read one book each month and gather for discussion, projects, presentations, or themed activities
Geography: Study countries, maps, cultures, geography, food, and history
STEM: Rotate engineering challenges, LEGO builds, robotics activities, experiments, and design projects
Entrepreneurship: Students develop business ideas, learn basic economics, practice marketing, and eventually host a small marketplace
Presentation: Students prepare something at home and gather to practice public speaking
Nature: Use the library as your meeting point and combine gatherings with nature study or nearby hikes
Middle School or Teen Community: Combine discussion, projects, games, service, leadership opportunities, and social time
Start narrow. You can always build from there.
Step 3: Ask Your Library About Meeting Space
Many public libraries offer community meeting rooms or study rooms. Check libraries near you and/or your group’s proposed meeting location.
Check your local library’s policies for: room availability, reservation requirements, group size, food and drink, children’s activities, frequency of reservations, noise expectations, meeting-room eligibility and use policies, whether activities must be open to the public, restrictions involving commercial activity, etc. Every library system is different, so be sure to follow your library’s current policies.
You may also want to explain that you are a small group of homeschool parents gathering with your own children for educational activities, rather than a business or paid instructional program. If the library isn’t a good fit, other possibilities include churches, parks, recreation centers, community rooms, homes, clubhouses, or other community spaces.
Step 4: Decide What You Will Learn
You don’t need to create curriculum from scratch. Families could choose: 1) curriculum everyone already owns, 2) inexpensive curriculum families purchase individually, 3) library books and publicly available resources, 4) topic-based approach using resources each family contributes, 5) mix of these options.
You might decide: We are studying Colorado history for eight weeks.
Then divide it up:
Week 1: Indigenous peoples and early Colorado
Week 2: Explorers
Week 3: Pioneers
Week 4: Mining and the Gold Rush
Week 5: Railroads
Week 6: Colorado government
Week 7: Famous Coloradans
Week 8: Student presentations
Each parent takes responsibility for one gathering. Suddenly, nobody is planning an eight-week course. Each parent is preparing one week.
Step 5: Pool Your Resources
This is where a simple co-op can become incredibly affordable. Instead of collecting tuition, consider what each family can contribute. Families might bring:
Family #1: construction paper, markers, glue, scissors, etc.
Family #2: science supplies
Family #3: books
Family #4: printing
Family #5: snacks
Family #6: educational games
Family #7: materials for that week’s project
Families may also voluntarily contribute items they already have and are comfortable making available for shared group use.
Create a simple shared supply list:
Already Have
Microscope — Smith Family
Geography Maps — Jones Family
Art supplies — Garcia Family
Printer/laminator — Wilson Family
STEM kits — Brown Family
Still Need
Poster board
Balloons
Baking soda
Craft sticks
Often someone will respond: “I have that in my basement.”
Step 6: Contribute Time Instead of Money
Parents bring different strengths and different amounts of available time. That is okay. Your group might decide that each family contributes in some way. For example:
Family A: teaches science once a month
Family B: coordinates communication
Family C: teaches art
Family D: reserves rooms and manages the calendar
Family E: brings supplies and leads games
Family F: plans field trips
The goal isn’t making every contribution identical. The goal is creating something mutually supported. Ask: What can each family reasonably contribute during this season?
Step 7: Keep the Structure SIMPLE
You don’t need twelve committees. For a small group, you may only need:
One Coordinator: Keeps everyone informed and maintains the calendar.
One Parent Leading Each Gathering: Plans that day’s activity.
Everyone Else: Helps their children, participates, brings needed materials, and assists with setup and cleanup.
That’s it. You can add structure if the group grows. Don’t build an organization before you have a community.
Step 8: Decide on a Few Basic Expectations
Even an informal group benefits from clarity. Agree on things like: ages participating, whether younger siblings can attend, how often you meet, meeting length, parent attendance expectations, behavior expectations, cancellations, cleanup, supplies, communication, allergies, photos, who is responsible for supervising children, etc.
One particularly important principle: Parents Remain Responsible for Their Children. Keeping parents involved preserves one of the greatest advantages of this model. Rather than turning the co-op into a drop-off program, parents remain engaged in the community and responsible for their own children. This also leads to a deeper community.
Simple 2-Hour Co-op Schedule
Your gathering doesn’t need to be complicated.
9:30–9:45: Arrival + Conversation
9:45–10:15: Group Lesson
10:15–11:00: Hands-On Activity
11:00–11:20: Student Presentations, Game, or Discussion
11:20–11:30: Cleanup
Done. You could meet once a week, twice a month, or even once a month.
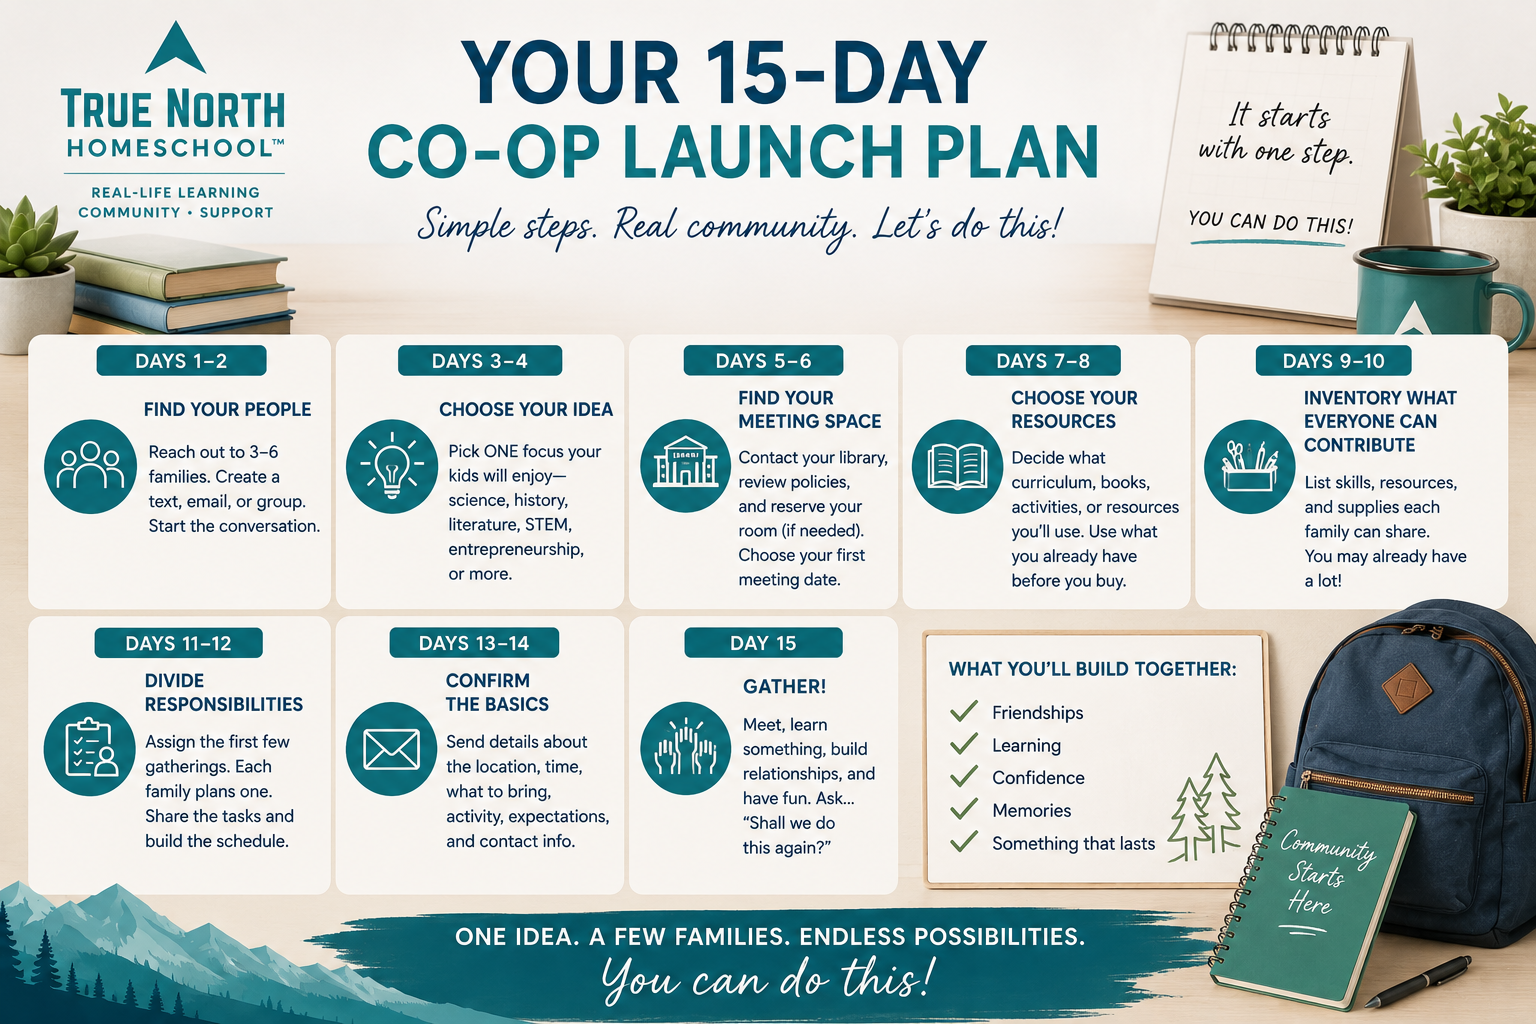
Days 1–2: Find Your People
Contact 3–6 families. Create a text thread, email group, or private online group. Ask one question: “If we created a simple parent-led homeschool group together, what would you want our kids to do or learn?”
Days 3–4: Choose Your Idea
Pick ONE. Science. History. Literature. STEM. Entrepreneurship. Nature study. Teen community. Don’t overthink it. Choose something your families are excited about.
Days 5–6: Find Your Meeting Space
Contact your library. Review its meeting-room policies. Reserve a room if appropriate and available. Choose your first meeting date.
Days 7–8: Choose Your Resources
Decide what curriculum, books, activities, or resources you’ll use. Before purchasing anything, ask: “Does anyone already own something we could use?”
Days 9–10: Inventory What Everyone Can Contribute
Create three simple lists: 1) Skills, 2) Resources and 3) Supplies. You may discover your little community already has almost everything it needs.
Days 11–12: Divide Responsibilities
Assign the first few gatherings. Each family plans one gathering. For example:
Week 1 — Taylor Family
Week 2 — Martinez Family
Week 3 — Johnson Family
Week 4 — Miller Family
Days 13–14: Confirm the Basics
Send everyone: location, time, what to bring, activity, expectations and contact information. Keep it simple.
Day 15: Gather
Meet. Learn something. Let the kids build relationships. Let the parents build relationships. Take notes about what worked. Then ask: “Should we do this again?” If the answer is yes, you have a homeschool co-op.
What This Could Cost
Starting up a co-op can be little to no cost.
Potential group participation fee: $0
Room: Potentially $0
Curriculum: Potentially $0 (if families use resources they already own, borrow from the library, or use appropriate free resources)
Supplies: Potentially $0 in shared cash expenses (if families voluntarily bring materials from home)
Administration: Parent volunteers
Teaching: Parents sharing their time and abilities
Community: Built together
That doesn’t mean homeschool co-ops never have expenses. As your group grows, you may decide together that certain purchases are worthwhile. But money does not necessarily have to be the starting point.
What Happens When the Group Grows?
Maybe you start with five families at a library. Six months later, you have twelve. Eventually you might decide you need: more space, additional groups, specialized classes, field trips, insurance, equipment, formal leadership, a church or community partnership, different organizational structure, etc.
That’s okay. Solve those problems when they actually arrive. You do not need to build the structure for a 100-family organization when you have five families sitting around a library table.
Start small. Build relationships. Learn what works. Grow intentionally.
A Few Important Things to Consider
Independent parent-led groups should still exercise good judgment.
Depending on how your group develops, you may need to think about issues such as: library or facility policies, liability, insurance, copyright and curriculum licensing, food allergies, emergency procedures, child supervision, background checks, applicable Colorado laws and regulations, whether charging tuition, hiring instructors, offering drop-off care, or substantially changing the structure of the group creates additional requirements.
This guide is intended to help families think through a small, cooperative, parent-led gathering, not to provide legal, tax, insurance, or regulatory advice.
If your group begins operating more like a school, business, childcare program, or paid educational organization, take time to determine what additional requirements may apply.
Start Smaller Than You Think
There is a tendency to believe that meaningful homeschool opportunities have to come from someone else. Sometimes they do. Wonderful classes, enrichment programs, schools, co-ops, tutors, and homeschool organizations can all be valuable resources for families. But parents can also create remarkable opportunities themselves. You don’t necessarily need someone to build homeschool community for you.
You can build it with one another. One parent. One family. One library room. One idea. One gathering at a time.
Find Your People. Pool Your Resources. Build Something Together.
True North believes parents should have the freedom to choose the homeschool path, resources, communities, and educational opportunities that best serve their individual families.
Sometimes the resource your community needs already exists. And sometimes you and a few other parents are the ones who can create it.